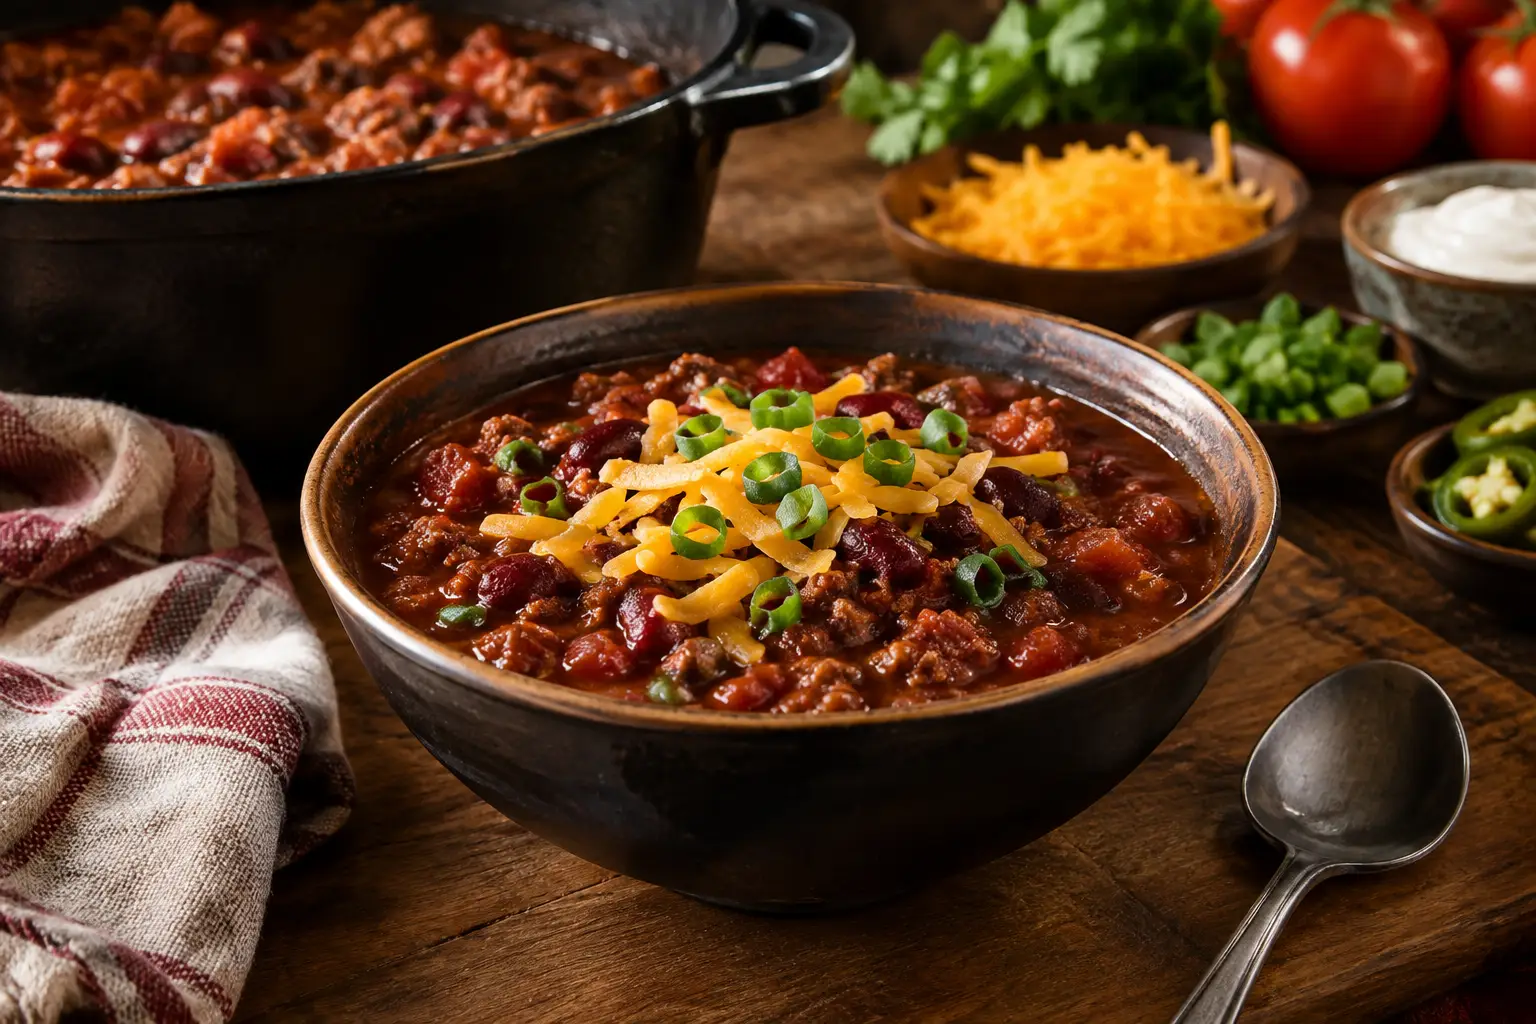
A great gluten free chili recipe should never feel like the cautious version of chili. It should arrive at the table thick, brick-red, smoky, and full of beefy depth, with enough heat to wake up the bowl without turning dinner into a dare. The gluten-free part is mostly about smart label reading, not compromise.
This is a hearty, classic American-style bean chili built for weeknight bowls, game-day spreads, and the magical leftovers that taste even better tomorrow. Every bowl tells a story, and this one starts with toasted spices, slow-cooked aromatics, and pantry staples that earn their place.
Gluten Free Chili Recipe: The Big-Bowl Version
Serves 6 to 8 Active time: 25 minutes Simmer time: 45 minutes
Ingredients
- 2 tablespoons neutral oil, such as avocado or vegetable oil
- 2 pounds ground beef, preferably 80/20
- 1 large yellow onion, finely diced
- 1 red bell pepper, diced
- 4 garlic cloves, minced
- 3 tablespoons chili powder, verified gluten-free
- 2 teaspoons ground cumin
- 2 teaspoons smoked paprika
- 1 teaspoon dried oregano
- 1/2 teaspoon ground coriander
- 1/4 to 1 teaspoon cayenne pepper, depending on your heat level
- 2 tablespoons tomato paste
- 1 can (28 ounces) crushed tomatoes
- 1 can (15 ounces) tomato sauce
- 1 can (15 ounces) kidney beans, drained and rinsed
- 1 can (15 ounces) pinto beans, drained and rinsed
- 1 1/2 cups gluten-free beef broth
- 1 tablespoon apple cider vinegar
- 1 teaspoon kosher salt, plus more to taste
- 1/2 teaspoon black pepper
For serving, bring out the good stuff: shredded cheddar, diced white onion, sliced jalapeños, cilantro, sour cream, avocado, and gluten-free corn chips or cornbread.
Build flavor before the simmer
Set a Dutch oven or other heavy pot over medium-high heat and add the oil. Brown the ground beef in two batches if your pot is crowded. That extra few minutes is worth it. Meat piled into a small pot steams instead of browning, and browned beef delivers the savory backbone that makes a chili taste like it has been working all day.
Once the beef is deeply browned, transfer it to a bowl if there is a lot of rendered fat in the pot. Leave about 2 tablespoons behind. Add the onion and bell pepper, then cook until softened and lightly golden, about 6 to 8 minutes. Stir in the garlic for 30 seconds, just until fragrant.
Now add the chili powder, cumin, smoked paprika, oregano, coriander, and cayenne. Stir continuously for about 45 seconds. This quick bloom in the hot fat wakes up the spices and gives the finished chili a rounder, richer flavor. Add the tomato paste and cook for another minute until it darkens slightly. That little bit of caramelization matters.
Return the beef to the pot along with the crushed tomatoes, tomato sauce, beans, beef broth, salt, and black pepper. Bring everything to a gentle boil, then lower the heat until the chili bubbles lazily. Partially cover and simmer for 45 minutes, stirring every so often so the bottom does not catch.
Finish with apple cider vinegar. It will not make the chili taste vinegary. It simply sharpens the tomato and spice flavors, especially after a long simmer. Taste and adjust the salt, cayenne, or chili powder. If the chili feels too thick, loosen it with a splash of broth. If it seems thin, simmer uncovered for another 10 to 15 minutes.
Why This Chili Stays Gluten-Free
Chili is naturally close to gluten-free territory, but “close” is not a useful standard for anyone with celiac disease or a serious gluten sensitivity. The potential troublemakers are often hiding in processed pantry ingredients rather than in the meat, vegetables, or beans.
Start with the spice blend. Pure individual spices are often gluten-free, but chili powder blends can vary by brand and may be processed in facilities that also handle wheat. Check the package, especially if you are cooking for someone who needs certified gluten-free products.
Broth deserves the same scrutiny. Some beef broths use flavorings, yeast extracts, or thickeners that are not a fit for every gluten-free kitchen. Canned beans and tomatoes are usually straightforward, yet labels can change, so make checking them part of your pre-chili ritual.
The biggest accidental mistake tends to happen at the table. Standard crackers, flour tortillas, beer, and some cornbread mixes can turn an otherwise safe pot into a problem. Keep toppings clearly separated if you are feeding a mixed crowd, and use dedicated serving utensils if cross-contact is a concern.
The Texture Call: Beans, No Beans, or Somewhere Between
This recipe uses kidney and pinto beans because they bring creamy contrast, stay sturdy through a simmer, and stretch a pot of chili into real meal-prep territory. But chili has regional loyalties, and beans are one of the great fault lines.
For a Texas Red-inspired bowl, skip the beans and increase the ground beef to 2 1/2 pounds. Add another 1/2 cup broth if needed, and consider swapping some of the chili powder for dried chiles such as ancho and guajillo. That route is darker, meatier, and more chile-forward.
For a thicker, cozier chili, mash about 1/2 cup of the beans against the side of the pot during the last 15 minutes. You get body without adding flour or a starch slurry. It is an easy move that keeps the gluten-free formula clean while giving the chili that spoon-coating texture many people want.
Heat Level Is Not a Personality Test
Use 1/4 teaspoon cayenne for mild warmth, 1/2 teaspoon for a medium bowl, and a full teaspoon if your crew likes a real spark. Smoked paprika adds depth, not major heat, so do not rely on it to turn up the volume.
If you want fresh chile flavor, add one minced jalapeño with the onion and bell pepper. For a fruitier, more assertive burn, use a serrano instead. Keep in mind that dried chile powders grow stronger as they simmer, so it is smarter to begin slightly under your ideal heat level and adjust near the end.
A dollop of sour cream, a pile of cheese, or cool avocado can soften a spicy batch. The better fix, though, is balance: more salt, a touch more tomato, or a small splash of vinegar often makes heat feel less harsh without actually reducing it.
Make-Ahead, Freezer, and Leftover Moves
This chili is better after a rest. Cool it promptly, refrigerate it overnight, and reheat it gently the next day. The beef absorbs the chile and tomato flavors, the beans become creamier, and the whole pot tastes more settled.
It keeps in the refrigerator for up to four days and freezes well for up to three months. Freeze in meal-size containers, leaving a little room at the top for expansion. Thaw overnight in the refrigerator when possible, then reheat on the stove with a splash of gluten-free broth if it has thickened.
Leftovers have range. Spoon the chili over baked potatoes, pile it onto gluten-free nachos, tuck it into a bowl with rice and avocado, or turn it into a loaded chili mac with a gluten-free pasta shape that can stand up to the sauce. A cold-weather bowl is only the opening act.
A Few Smart Swaps
Ground turkey works if you want a lighter chili, though it benefits from an extra tablespoon of oil and a little more salt. Ground bison is a leaner, richer option with serious chili energy. For a vegetarian version, replace the beef with an additional can of beans plus diced mushrooms or crumbled plant-based meat that is clearly labeled gluten-free.
Want a deeper, almost coffeehouse-dark pot? Add 1 teaspoon unsweetened cocoa powder with the spices. It should sit in the background, not announce itself. A teaspoon of gluten-free tamari can also add savory depth, but taste before adding more salt.
Make a pot when you have 70 minutes and a hungry table ahead. Then save a container for tomorrow, because the best chili move is knowing the second bowl may be the one that steals the show.