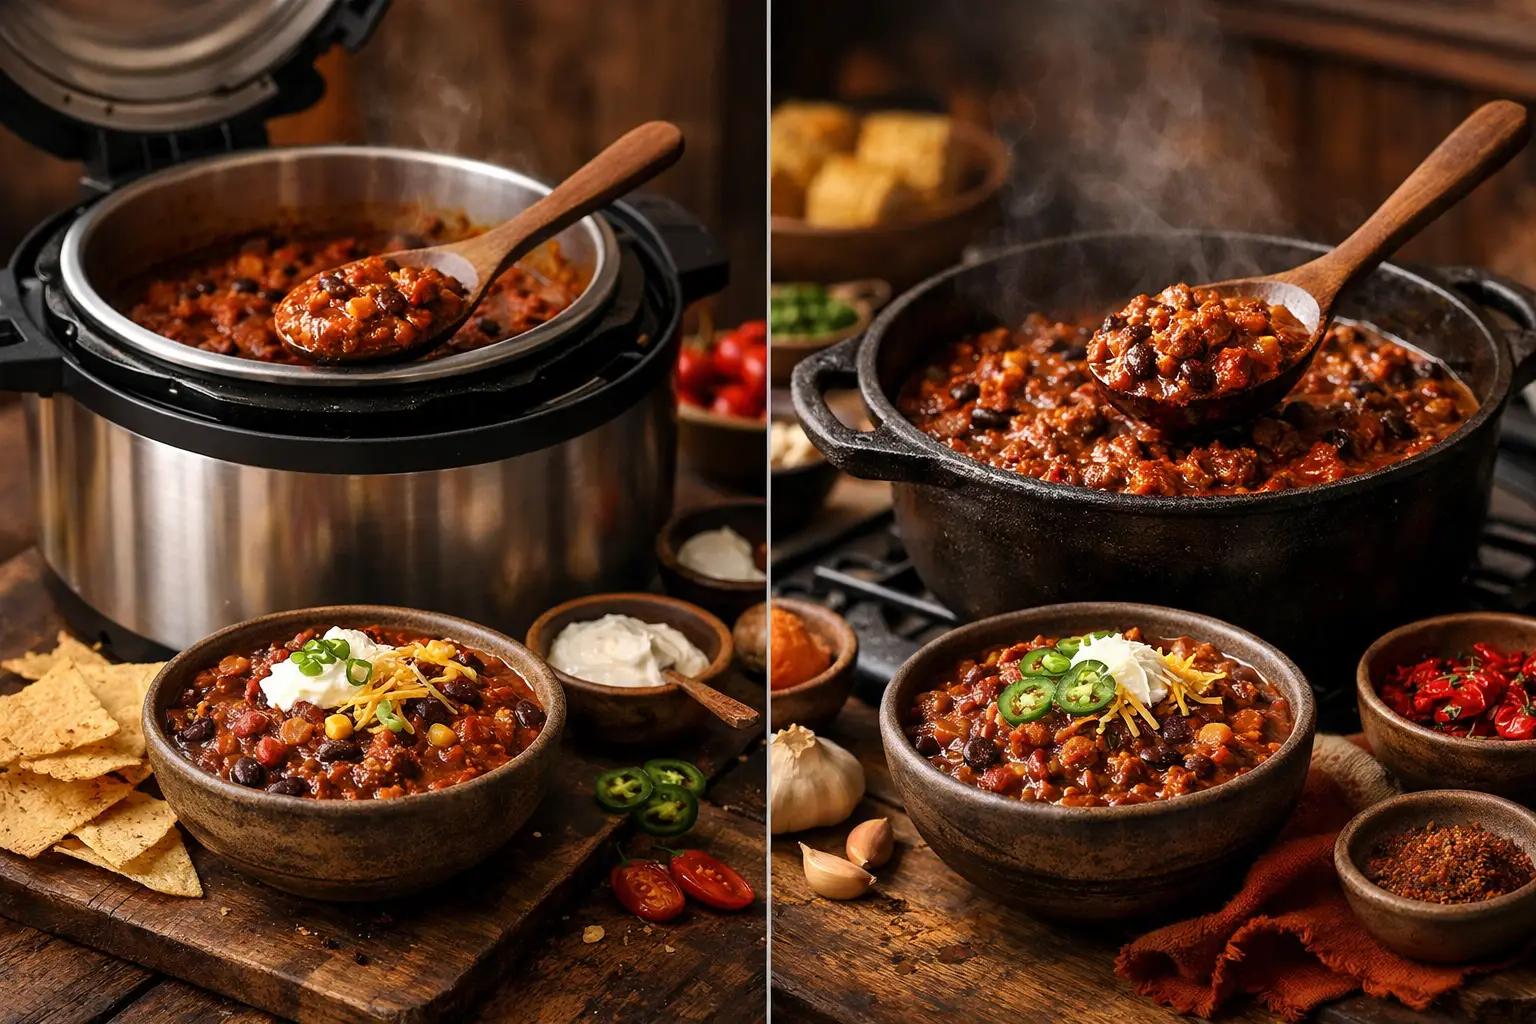
A pot of chili can be ready before kickoff, or it can spend a lazy Sunday afternoon turning into something dark, thick, and deeply beefy. That is the real question behind pressure cooker vs stovetop chili: are you chasing speed, or are you chasing the particular character that only time over a low flame can create?
Both methods make excellent chili. Neither is automatically the winner. The better choice depends on your recipe, your ingredients, and whether tonight calls for a fast weeknight bowl or a simmer-all-day statement pot. Every bowl tells a story, and the cooking method changes the plot.
Pressure Cooker vs Stovetop Chili at a Glance
A pressure cooker uses trapped steam and elevated pressure to cook ingredients quickly. Beans soften fast, tough cuts of meat become tender, and a chili that might need two or three hours on the stove can be on the table in roughly 45 minutes, including the time it takes the pot to come to pressure.
Stovetop chili cooks uncovered or partially covered at a gentle simmer. Moisture gradually evaporates, flavors mingle in layers, and you can taste, adjust, and watch the texture evolve. It takes longer, but it gives the cook more control over reduction, seasoning, and the final body of the pot.
If convenience is the headline, the pressure cooker has the edge. If you love building a chili by instinct - a little more cumin here, another spoonful of chile powder there - the stovetop is hard to beat.
The Flavor Difference Is Real
Pressure cooking is incredibly good at getting flavor into ingredients. Beef, chicken, or pork absorbs the chile-rich broth quickly, and aromatics such as onion and garlic soften into the base. A pressure-cooked chili can taste remarkably complete after a short cooking time, especially when it starts with a solid browned foundation.
But pressure does not reduce liquid the way an open simmer does. That matters because reduction is more than making chili thicker. As water cooks off, tomato, chile, meat, and spice flavors become more concentrated. A stovetop pot also develops a slightly different kind of complexity: the ingredients have time to trade flavors without being rushed.
For a Texas Red with chunks of beef, toasted dried chiles, and no beans, the stovetop method often produces the more dramatic, layered result. The slow simmer lets the chile puree deepen while the sauce clings to the meat. For a hearty ground-beef-and-bean chili, the flavor gap is smaller, particularly if you finish the pressure-cooked batch with an uncovered simmer.
The best pressure-cooker move: brown first
Do not treat the pressure cooker like a dump-and-go machine if flavor is the goal. Use its sauté setting, or brown in a separate skillet, before adding liquid. Get real color on ground beef or cubed chuck. Cook the onions until they lose their raw edge. Bloom chile powder, cumin, oregano, and smoked paprika briefly in the fat.
Those few extra minutes create the roasty backbone that keeps quick chili from tasting merely efficient. Then pressure-cook as planned and reduce uncovered afterward if the chili looks thin.
Texture: Where Stovetop Chili Pulls Ahead
Texture is the biggest practical difference between the two methods. A stovetop gives you a live read on your chili. Is the sauce too loose? Leave the lid off. Are the beans getting too soft? Turn down the heat and stop sooner. Does the beef need another 20 minutes? Let it ride.
A pressure cooker asks you to make more decisions upfront. Too much liquid can leave you with soupier chili. Delicate ingredients can oversoften. Ground meat may lose some of its craggy, distinct texture, and canned beans can go from creamy to broken if they spend too long under pressure.
That does not make pressure-cooker chili mushy by default. It means ingredient timing matters. Dried beans are a natural match for pressure cooking because they need serious softening power. Canned beans are usually better stirred in after pressure cooking, then warmed through during a short simmer. Corn, bell peppers, zucchini, and fresh herbs also belong near the finish line, not at the beginning.
For cooks who want a thick, spoon-standing chili, stovetop has a built-in advantage. For cooks who want tender meat and creamy beans with minimal waiting, pressure cooking delivers.
Which Ingredients Favor Each Method?
The pot you choose should follow the ingredients, not just the clock.
Pressure cookers shine with dried beans, cubed chuck, pork shoulder, chicken thighs, and tough vegetables that need time to soften. They are especially useful for a bean-forward turkey chili on a Tuesday, or for turning inexpensive stew meat into tender bites without committing the entire afternoon.
Stovetop cooking suits ground beef, canned beans, delicate vegetables, and recipes built around gradual thickening. It is also the better canvas for chili styles where the sauce is the main event. A Cincinnati-style chili needs careful seasoning balance and a fine, loose-meat texture. Colorado green chili benefits from slow integration of pork, roasted green chiles, and tangy tomatillo or tomato elements.
There is also a hybrid route, and it deserves more respect than it gets. Pressure-cook the meat and base until tender, then simmer uncovered for 15 to 30 minutes. That final stretch concentrates the sauce, lets you add canned beans safely, and gives you room to fine-tune salt, heat, acidity, and sweetness. It is the weeknight power play.
Time Isn’t Just Cook Time
A pressure cooker saves time, but not always as much as recipe headlines suggest. It needs time to heat up and build pressure, usually 10 to 20 minutes depending on volume and temperature. Natural release can add another 10 to 15 minutes. If you are making a small pot with ground beef and canned beans, a stovetop chili may be nearly as fast.
The pressure cooker wins decisively when you are starting with dried beans or tough meat. A pot of dried-bean chili that would take hours on the stove becomes realistic for dinner. That is not a minor convenience. It changes what kind of chili you can make on a worknight.
Stovetop cooking, meanwhile, has a different kind of convenience: you can taste as you go. Pressure-cooker seasoning is harder to judge before cooking because reduced volume and softened ingredients change the balance. Be conservative with salt before pressure cooking, especially with canned tomatoes, broth, and packaged seasoning blends. Correct aggressively at the end.
Heat, Acidity, and Other Chili Fixes
No matter which pot you use, reserve a few flavor adjustments for the finish. A squeeze of lime, a splash of cider vinegar, or a spoonful of hot sauce can wake up a chili that tastes heavy. More salt can sharpen muted flavors, while a small pinch of sugar may round out harsh tomato acidity or bitter chile notes.
For heat, remember that pressure cooking can make chile peppers feel more integrated, not necessarily hotter. Add dried chiles or chile powder early for depth. Add fresh jalapeño, serrano, chipotle, cayenne, or hot sauce near the end when you want a brighter, more obvious kick. This lets everyone at the table find their own heat lane.
If your chili is thin after pressure cooking, do not panic and reach for flour first. Simmer it uncovered. Mash a small scoop of beans against the side of the pot. Stir in a little masa harina if the recipe welcomes its earthy corn flavor. These fixes preserve the personality of the chili better than a heavy slurry.
So, Which Chili Method Should You Choose?
Choose a pressure cooker when time is tight, dried beans are involved, or you are working with a cut of meat that needs tenderness fast. It is the practical champion for meal prep, busy nights, and big-batch comfort food without the all-day commitment.
Choose the stovetop when you want maximum control, a naturally reduced sauce, and the freedom to cook by taste. It is the method for slow-simmered Texas Reds, game-day pots that perfume the house, and cooks who see the last hour of chili-making as part of the fun.
The smart move is not declaring one method superior forever. Match the pot to the bowl you want. A pressure cooker gets you to a satisfying chili fast; a stovetop gives you more chances to make that chili unmistakably yours. Start with the time you have, then choose the recipe that makes the whole kitchen smell like a win.