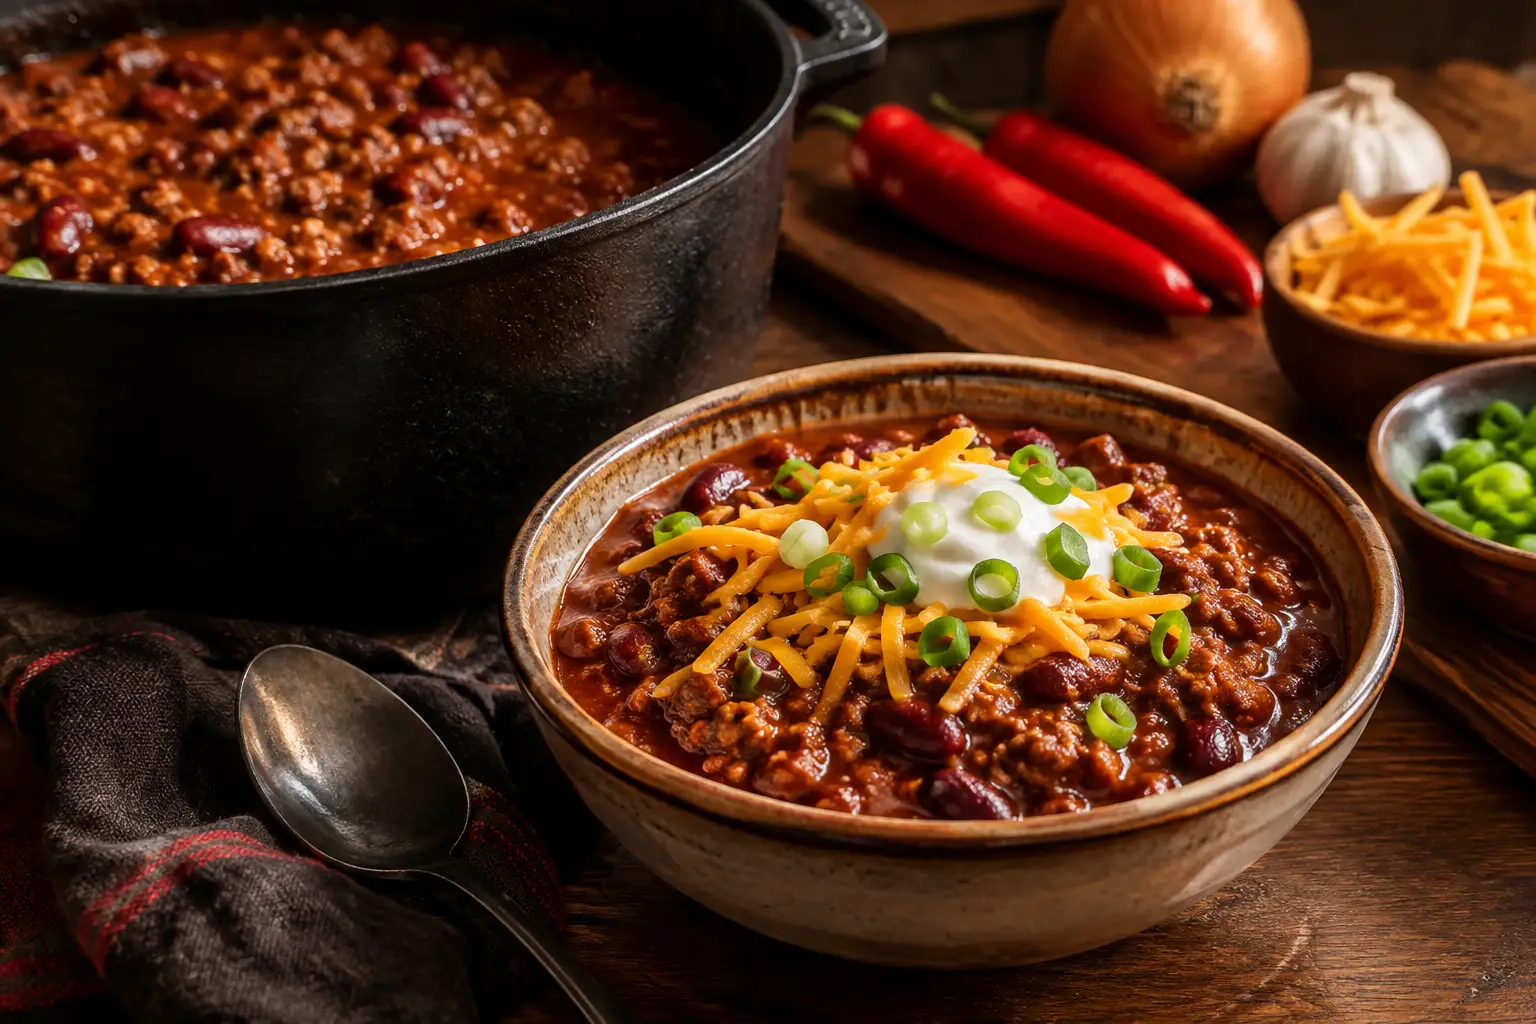
That dark, bitter patch stuck to the bottom of the pot can turn a promising batch into a chili tragedy fast. Learning how to prevent chili scorching is less about hovering over the stove and more about managing heat, moisture, and the naturally thick ingredients that make chili so satisfying in the first place.
Whether you are building a beefy Texas Red, a bean-loaded weeknight classic, or a roasted green chili with pork, the rules are similar. Chili is meant to simmer low and slow. Once it starts aggressively bubbling, the bottom of the pot becomes the danger zone.
Why chili scorches so easily
Chili gets thick as it cooks. Ground meat releases fat, tomatoes reduce, beans break down, and spices settle into the sauce. That body is part of the appeal, but it also means there is less free liquid circulating at the base of the pot. When the burner is too hot, the solids on the bottom cook faster than the liquid above them.
Tomato-heavy chilis are especially prone to scorching because tomatoes contain natural sugars. Sweet ingredients such as barbecue sauce, brown sugar, molasses, roasted peppers, and some bottled chili sauces raise the stakes, too. They can bring great depth, but they caramelize and burn long before a thin broth-based soup would.
The fix is not to make every chili watery. A great bowl should have presence. The goal is to keep the base moving gently enough that it reduces without turning into a scorched crust.
Start with the right pot and burner
A heavy-bottomed Dutch oven is the home cook's best defense. Cast iron and enameled cast iron hold heat steadily, while a quality clad stainless-steel pot distributes it more evenly than a lightweight, thin-bottomed stockpot. The point is not that a heavy pot makes scorching impossible. It buys you more forgiveness when the sauce thickens.
Match the pot to the batch, too. A small amount of chili spread across the wide bottom of a huge pot can reduce quickly and scorch around the edges. For a smaller batch, use a smaller vessel with enough room to stir without splashing.
On an electric or glass-top range, remember that the burner stays hot after you lower the dial. If your chili starts simmering too hard, move the pot to a cool burner for a minute instead of simply turning the heat down and hoping for an immediate change. Gas responds faster, but the lowest flame can still be too aggressive for a thick, long-simmered chili.
How to prevent chili scorching with heat control
A simmer is not a rolling boil. For chili, you want the occasional lazy bubble breaking the surface, not a pot that looks like it is trying to escape. Start at medium heat only long enough to bring the ingredients together, then reduce to low or medium-low.
Keep the lid slightly ajar during a long cook. This lets steam escape so the chili can concentrate, but it slows evaporation compared with cooking fully uncovered. If your recipe needs a thicker finish, remove the lid near the end and stay closer to the stove while it reduces.
There is a useful trade-off here: high heat gets dinner on the table sooner, but it flattens the margin for error. Low heat takes patience, yet it gives spices time to round out, tough cuts time to soften, and the sauce time to develop without tasting singed. Chili rewards the slower lane.
Stir the bottom, not just the surface
A quick swirl with a spoon does not do much for a thick pot of chili. Use a wooden spoon or silicone spatula with a flat edge, and scrape deliberately across the entire bottom of the pot. Pay special attention to the center directly above the burner and the corners where beans and meat like to settle.
How often should you stir? It depends on thickness and heat. In a loose, brothier chili on a true low simmer, every 20 to 30 minutes may be enough. In a thick tomato-and-bean chili, plan on every 10 to 15 minutes. During the final reduction, when the chili is close to its ideal spoon-coating texture, stir every few minutes.
Do not confuse frequent stirring with constant stirring. You do not need to stand guard for three hours. You do need to check in before the bottom has time to sit still and overheat.
Add ingredients in the order they can handle
The riskiest moment often comes before the long simmer. Browning meat leaves flavorful fond on the pot, but that fond can become burnt residue if the pan is too hot or too dry. Brown in batches rather than crowding the pot, then lower the heat before adding onions, garlic, and spices.
Dried chili powders and pastes need a brief bloom in fat to wake up their aroma. Give them 20 to 30 seconds, stirring constantly, then add tomatoes, stock, beer, or another liquid promptly. Letting powdered spices sit in a hot dry pot too long can make them acrid, which can mimic the bitterness of a scorched chili.
If you are using canned beans, consider adding them later in the cook. They are already tender and can break apart during an extended simmer, making the pot thicker and more scorch-prone. Add them in the final 30 to 45 minutes when possible. The same goes for delicate roasted peppers or cooked leftovers that do not need hours of heat.
Watch the ingredients that thicken the pot
Chili thickens from more than evaporation. Crushed tomatoes, tomato paste, masa harina, cornmeal, blended beans, pumpkin, and pureed peppers all add serious body. That can be exactly right for a competition-style red chili or a hearty bowl built for cornbread, but each thickener calls for a little more stirring and a little less heat.
Tomato paste is worth special attention. Cook it briefly with the aromatics to deepen its flavor, but loosen it with liquid before it catches. If you add masa harina or cornmeal, whisk it into a small amount of warm broth first, then stir that slurry into the chili. Tossing dry thickener directly into the pot can create clumps that settle and stick.
A chili that looks perfect at hour one may need a splash of stock at hour two. That is not a failure. Add liquid in small amounts, about a quarter cup at a time, and give it several minutes to integrate before deciding it needs more. You can always reduce later; you cannot unburn the bottom.
If you smell scorching, act before you stir
The first warning is often a faint toasted smell that does not belong to your spice blend. You may also notice the simmer suddenly quiet down as the thick layer on the bottom stops circulating. Move quickly, but do not scrape the bottom.
Turn off the heat or move the pot to a cool burner. Then carefully ladle the unscorched chili into a clean pot, leaving the stuck layer behind. Taste the rescued chili before making any adjustments. A tiny hint of bitterness may disappear under acidity, salt, or a fresh garnish, but a strong burnt flavor will not be fixed by dumping in sugar or hot sauce.
If the damage is mild, a small splash of stock can loosen the texture, while a squeeze of lime, a spoonful of crema, or chopped raw onion can brighten the finished bowl. These are finishing moves, not magic tricks. The real save is refusing to scrape burnt residue into the rest of the batch.
A low-stress chili routine
For long-simmered recipes, use this simple rhythm: bring the pot up gently, lower it as soon as it bubbles, keep the lid cracked, and scrape the bottom on every check-in. Before stepping away for longer than 15 minutes, confirm that the chili is loose enough to move when stirred and that the burner is truly low.
This is especially useful when you are cooking for game day or building a chili bar. The distractions are real: toppings need chopping, guests are arriving, and someone is asking whether the spicy pot is actually spicy. Set a timer if you need one. The best chili cooks are not chained to the stove, but they respect the pot.
Every bowl tells a story, and the best one should taste like toasted chiles, slow-cooked meat, bright tomato, or smoky peppers - never the bottom of your Dutch oven. Keep the heat calm, give the pot an honest scrape, and let your chili earn its depth the slow, delicious way.