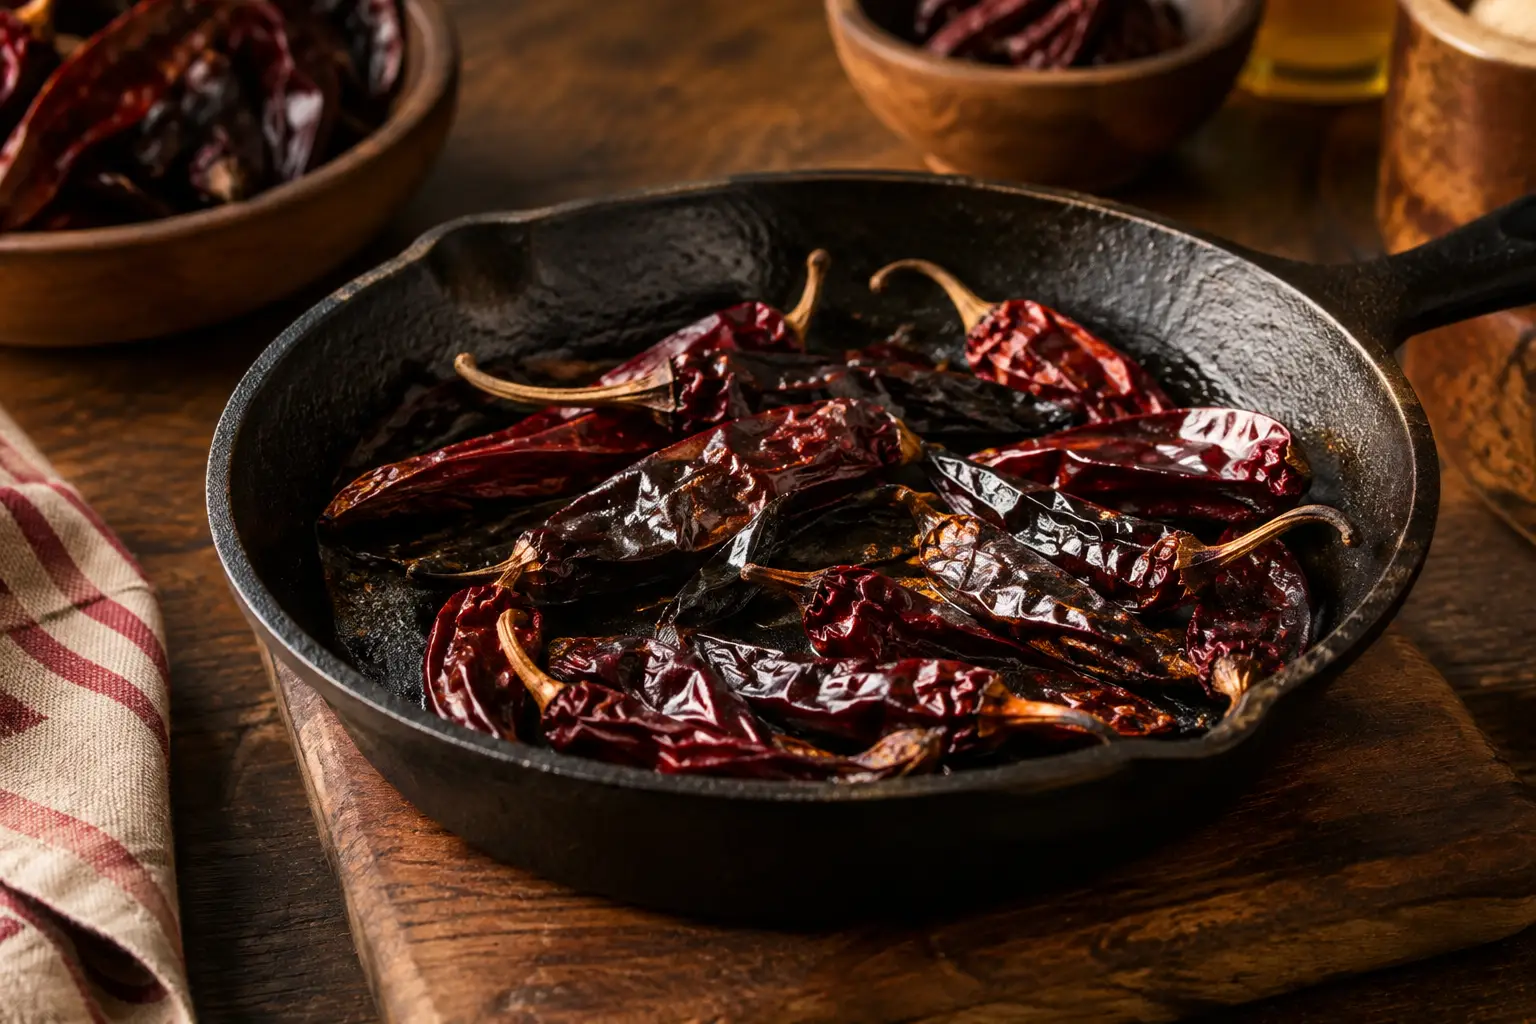
A dried chile can take a pot of red chili from good to unmistakably yours. But there is a narrow window between fragrant, earthy chile flavor and a bitter, scorched batch that can flatten an entire sauce. Learning how to toast dried chiles is less about bravado and more about paying attention: use a dry pan, moderate heat, and your nose.
For Texas Red, Colorado-style chile, enchilada sauce, birria, mole, or any chili built around a homemade chile puree, toasting is the small move that gives dried pods their big voice. Done right, you get warm fruitiness, roasted depth, and a little extra complexity before the chiles ever meet broth, tomatoes, or meat.
Why Toast Dried Chiles Before Cooking?
Drying concentrates a chile’s character, but it also leaves behind flavors that can feel dusty, flat, or slightly papery. A brief toast wakes up the natural oils in the skin and flesh. Anchos become more raisiny and cocoa-like; guajillos lean brighter and tangier; pasillas get dark and woodsy; New Mexico and California chiles become sweeter and more rounded.
Toasting does not make dried chiles dramatically hotter. Heat comes mainly from the seeds and inner membranes, plus the chile variety itself. What toasting changes is aroma and depth. That matters when your recipe is chile-forward, because the puree is not just adding color. It is carrying the personality of the bowl.
There is a trade-off, though. Some very fresh, pliable dried chiles have plenty of fragrance already, and a long toast can bury their best notes. Toast them briefly, or skip the pan altogether if a recipe calls for simply soaking them. No technique deserves autopilot.
How to Toast Dried Chiles in a Skillet
The skillet method is fast, direct, and ideal for the small batches most home cooks use. Start with whole dried chiles that are flexible rather than brittle. They should smell faintly fruity or earthy, not musty. Wipe away visible dust with a dry towel if needed, but do not rinse them before toasting. Water in the pan creates steam, which works against the point.
Heat a dry cast-iron skillet, carbon-steel pan, or heavy stainless-steel skillet over medium-low to medium heat. You do not need oil. In fact, oil makes it harder to judge what is happening and can push the chiles from toasted to fried before you are ready.
Lay one or two chiles in the pan at a time, depending on its size. Press them gently with tongs or a spatula so the surface makes contact with the hot metal. Turn after about 10 to 20 seconds, then toast the other side for another 10 to 20 seconds. Larger, thicker pods may take a little longer; thin, dry arbol chiles may need barely any time at all.
Your target is a chile that smells warm, sweet, and deeply peppery. It may darken a shade and puff in small spots. Pull it from the pan as soon as it becomes fragrant, then repeat with the rest. Move toasted chiles to a plate rather than leaving them in the warm skillet, where residual heat can keep cooking them.
The visual cues matter, but your nose matters more
A toasted chile can show a few small blisters. That is fine. A chile that turns black in patches, smokes heavily, or smells acrid has gone too far. Once the aroma shifts from roasted to burnt, the bitterness is already there.
If your first chile scorches in under 10 seconds, lower the heat and let the pan cool for a minute. This is especially common with cast iron, which holds heat fiercely. A quieter pan gives you more control, and control is the whole game.
Stem, Seed, Then Soak
Toast whole chiles first whenever possible. Keeping them intact helps prevent loose seeds and tiny pieces from burning in the skillet. After they cool just enough to handle, snap off the stems and shake out the seeds. Slice the pods open to remove as much of the pale inner membrane as you want.
Leaving a few seeds behind is not a crisis. Seeds add some bitterness and texture, but they are not the primary source of heat. The membranes are where much of the capsaicin lives. For a smoother, milder red sauce, remove both thoroughly. For a fierier chile base, leave more membrane in place or add a hotter variety such as chile de arbol.
Next, cover the chiles with very hot water, stock, or a combination of the two. Let them soak until soft and bendable, usually 15 to 30 minutes. A plate or small bowl can hold floating pods beneath the liquid. Then blend them with aromatics and enough soaking liquid or broth to create the texture your recipe needs.
Do not assume you need all the soaking liquid. It can be flavorful, but it can also carry a touch of bitterness, especially if the chiles were older or toasted aggressively. Start with a modest amount, blend, and add more as needed. Straining the puree is worth the extra minute for silky enchilada sauce, chile gravy, or refined Texas Red.
Match the Toast to the Chile
Not every chile reacts the same way in the pan. Think of the toast as a quick introduction, not a one-size-fits-all rule.
Ancho chiles are dried poblanos with a broad, wrinkled shape and a mellow, dark-fruit profile. Toast them gently to bring out prune, cocoa, and tobacco notes. Their thin skin can burn faster than their size suggests.
Guajillo chiles are the bright red workhorses of countless sauces. They offer berry-like tang, gentle heat, and clean chile flavor. Their smoother skin makes them easy to toast, but they can become bitter if left unattended.
New Mexico and California chiles are major players in Southwestern red chile and comfort-food pots. They tend toward sweet, earthy, and lightly grassy. A quick toast gives them fuller bass notes without erasing that classic red-chile snap.
Pasilla chiles are long, nearly black, and rich with raisin-like depth. Their flavor is excellent in blends, but their dark color can hide scorching. Keep the heat low and trust the aroma.
Chile de arbol is small, hot, and easy to overdo in every sense. Toast it for just a few seconds per side, often after you have finished the larger chiles. It brings sharp heat and a nutty edge to salsa, but a burnt arbol can make the whole batch taste punishing.
Common Mistakes That Make Chile Sauce Bitter
The most common mistake is using high heat because the process seems quick. It is quick, but high heat removes your margin for error. Medium-low heat may feel cautious, yet it gives you time to flip, smell, and adjust.
The second mistake is walking away. Dried chiles are light, thin, and already low in moisture. They can go from fragrant to blackened while you are hunting for a blender lid. Have your bowl, soaking liquid, and tongs ready before the pan heats up.
Another culprit is burning the seeds. If you split and seed chiles before toasting, stray seeds can fall into the skillet and scorch almost instantly. Toasting the pods whole prevents that mess. If you do toast pieces, keep them moving constantly.
Finally, do not try to rescue badly burnt chiles by blending in extra garlic, sugar, or tomato. A small dark spot is usually manageable. A batch that smells like ash is better replaced than disguised. Chile is the foundation, and a clean foundation makes every other ingredient taste more intentional.
Can You Toast Dried Chiles in the Oven?
You can, especially when making a large batch for freezer-friendly red chile sauce. Spread whole chiles on a sheet pan and warm them in a 250°F oven for roughly 3 to 6 minutes, turning once if needed. The oven is gentler but less immediate than a skillet, so it is useful for warming and reviving chiles rather than developing intense toasted spots.
For most weeknight cooking, the skillet wins. It lets you judge every pod, which is handy when your pantry contains chiles from different bags, ages, and levels of dryness. ChiliStation-style cooking is all about choosing the right lane, and a quick skillet toast lets every chile show its strengths before it joins the pot.
The next time a recipe calls for a red chile puree, slow down for those first 30 seconds at the stove. That warm, fruity scent is the signal that your chili has a stronger story to tell.