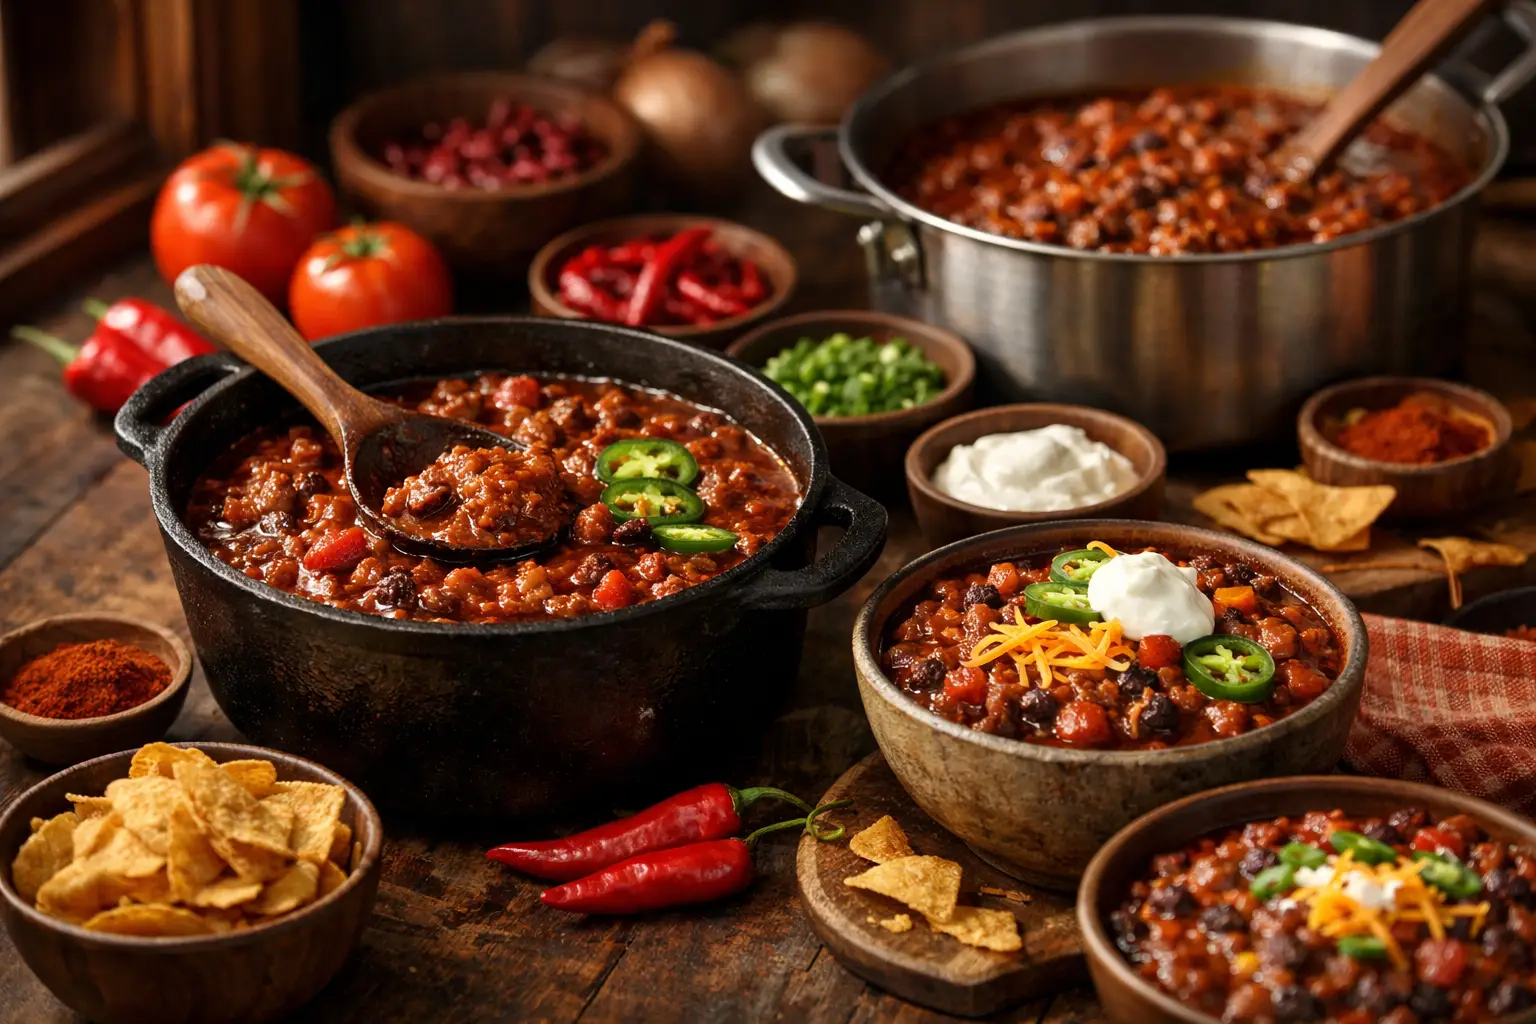
A five-quart Dutch oven can make a week of lunches. A stockpot can feed the block. The difference is not simply multiplying every ingredient and hoping for the best. Knowing how to scale chili recipes means protecting the things that make a bowl memorable: a deep chile backbone, balanced salt, tender beans, rich meat, and heat that builds instead of blindsides.
Chili is forgiving, but it is not magic. A recipe scaled from six servings to 30 has different evaporation, browning, pot-capacity, and seasoning needs. Get those right and your big batch tastes like the original recipe's louder, more generous twin.
Start With a Clear Scaling Factor
First, find the recipe's original yield and decide how many servings you actually need. Divide your target yield by the original yield.
For example, if a recipe serves 8 and you need 24 servings, your scaling factor is 3. Multiply the major ingredients by three: meat, beans, tomatoes, stock, onions, and peppers. This is the reliable starting point, especially when you measure in ounces, pounds, or grams.
Weight is your best friend for large batches. Three medium onions can vary wildly in size, while 24 ounces of diced onion is always 24 ounces. The same goes for ground beef, brisket, canned tomatoes, and dried beans. If you are scaling a favorite family recipe written in cups and handfuls, measure it once as you cook, then write down weights for the next batch.
Do not assume every ingredient should be multiplied with the same confidence. Meat and beans generally scale cleanly. Salt, dried chiles, chile powder, sugar, acid, and thickening ingredients need a more watchful hand. They shape the whole pot, so a small misstep gets amplified fast.
How to Scale Chili Recipes: Treat Spices Differently
The boldest mistake in big-batch chili is adding the full multiplied amount of every spice at the beginning. A tablespoon of cumin in a small pot might be a welcome bass note. Three or four tablespoons can turn dusty, bitter, or oddly perfume-like after a long simmer.
For dried spices, begin with roughly 70 to 80 percent of the mathematically scaled amount. Toast them briefly with the aromatics or bloom them in fat, then let the chili simmer. Taste after the flavors have had time to settle, and add the remaining seasoning in small additions.
This approach matters even more with hot chile powders, cayenne, chipotles in adobo, fresh jalapeños, and habaneros. Heat can feel restrained early, then bloom as peppers hydrate and the pot reduces. Build a chili that has a little room to grow. You can always bring more fire at the end with a hot sauce, crushed red pepper, minced chile, or a separate spicy finishing oil.
Salt deserves the same restraint. Canned beans, broth, tomatoes, bacon, sausage, and seasoning blends can all bring sodium to the party. Start with about two-thirds of the scaled salt, then adjust near the end. A big pot may need more salt than you expect, but it should get there by tasting, not by arithmetic alone.
Scale the Pot, Not Just the Recipe
A crowded pot changes how chili cooks. If your vessel is too full, onions steam instead of soften, meat releases liquid instead of browning, and the finished chili can taste flatter than the ingredient list suggests.
For a large batch, brown meat in batches. Give ground beef, turkey, pork, or cubed chuck enough surface contact to develop real color before it meets the liquid. That caramelized flavor is especially valuable in a straightforward beef-and-bean chili, where the pot has fewer places to hide.
Use a pot that leaves at least 20 percent of its volume empty. Chili bubbles and splatters, and you need space to stir without launching a tomato-sauce situation across the stove. If the recipe is too large for your best pot, make two separate batches rather than forcing everything into one overcrowded vessel. Two well-cooked pots beat one pale, watery giant every time.
Add Liquid in Stages
Liquid is one of the least reliable parts of a scaled recipe because surface area and simmering conditions change. A wider pot evaporates faster than a narrow one. A loosely covered stockpot behaves differently from a sealed slow cooker. A batch made on a humid day may reduce more slowly than one cooked in dry winter air.
Start a large chili with about 75 percent of the fully scaled stock, beer, water, or tomato juice. Let it simmer until the meat is tender and the flavors have merged. Then decide whether it needs more liquid. This gives you control over texture instead of making you chase a thin chili with a last-minute mountain of masa harina or cornstarch.
If you want a thicker bowl, use ingredients that belong in the chili's flavor profile. Simmer uncovered for the last stretch, mash a portion of beans against the pot wall, or add a small amount of masa harina whisked into warm broth. For a Texas Red, reduction and chile puree create body more naturally than beans or flour. For Colorado green chili, tender pork, roasted green chiles, and a restrained amount of broth keep the texture spoonable rather than gravy-heavy.
Respect the Style Before You Multiply
Every bowl tells a story, and scaling should not erase its regional identity. A classic Texas Red may rely on beef, dried chiles, stock, and slow reduction, so the chile paste and cooking time deserve extra attention. A bean-forward game-day chili needs enough liquid for beans to stay creamy without breaking apart. Cincinnati-style chili is thinner, finely textured, and driven by a precise warm-spice profile, so heavy-handed thickening or a casual extra scoop of cumin can take it off course.
Green chili has its own rules. Roasted Hatch or Anaheim chiles vary in heat and moisture, even within the same bag. When scaling up, taste the roasted chile mixture before committing it to the pot. You may need more mild green chile for body, but not necessarily more hot peppers.
The same principle applies to modern fusion chili. If the original uses cocoa, coffee, fish sauce, soy sauce, mole, gochujang, or smoked paprika, scale those supporting flavors cautiously. They are there to deepen the bowl, not announce themselves from the first spoonful.
Cook Time Does Not Multiply
More chili does not mean three times the simmer time. Once a large pot reaches a steady, gentle simmer, the meat and beans cook according to their own needs. What changes is the time it takes to get there, plus the time needed for the pot to reduce.
Keep the heat low enough for a lazy bubble, not a rolling boil. Stir regularly, scraping the bottom and corners where thick ingredients can catch. This is particularly important with tomato-rich chili, bean-heavy recipes, and anything thickened with masa. A scorched edge can put a bitter, smoky note through gallons of otherwise great chili.
Plan for a rest, too. Chili often tastes better after 20 to 30 minutes off the heat, when fat, spices, and acidity settle into focus. For make-ahead chili, cool it safely, refrigerate it, and reheat the next day. That overnight rest is not a myth. It is one of the easiest ways to make a big pot taste more composed.
Taste at the Finish Line
Before serving, taste for four things: salt, heat, acidity, and richness. Salt makes the chile flavor clearer. Heat should linger without flattening everything else. Acidity from lime, vinegar, or a touch of tomato can wake up a heavy pot. Richness may come from rendered meat, a little butter, or simply more time to reduce.
Make final adjustments one at a time. Add a small amount, stir, wait a minute, and taste again. When feeding a crowd with mixed heat tolerances, keep the main chili comfortably medium and set out hot sauce, pickled jalapeños, diced raw onions, shredded cheese, crema, and lime wedges. The pot stays balanced, and every person gets to build their ideal bowl.
For your next tailgate, freezer-prep Sunday, or neighborhood cook-off, scale with a calculator in one hand and a spoon in the other. The numbers get you close. The tasting is what makes the chili yours.